Right from the early 20th century, the rise of photography coincided with a surge in food magazines and cookbooks. In fact, daguerreotypes fruits like pineapples and peaches were among the first few subjects of food photography.

An amateur photographer might wonder what it takes to capture mouth-watering ingredients and dishes. All you need is some basic knowledge and a professional DSLR or mirrorless camera. So how can you use this equipment correctly? Here are some basic aspects to consider:
1. A pleasing background - Find a complementary surface that draws the viewer’s attention to the food. Add decor elements to make the dish look more aesthetic, such as tableware, linen and a few props.
2. The right lighting - Lighting is the soul of photography. It can enhance the texture of food products, block unwanted shadows and even set the right mood. It is often recommended to use a large, soft source of light like a frosted window or a softbox (a commonly used light modifier) to mitigate the impact of shadows. If all of this is too much to handle, feel free to use nature’s bounty and shoot in natural light.
3. Composition of the shot - An article published online on Shopify says, ’Too many elements can pull attention away from the food. While setting a main dish in the centre of a shot may feel natural, it doesn’t always produce the most eye-catching image. Follow the rule of thirds and divide the frame into three equal sections both horizontally and vertically, then place the main subject somewhere along the grid to draw the viewer’s attention.’
4. Stabilising the camera - Nobody likes a hazy shot! It’s important to stabilise the camera and using a tripod stand can help you achieve this easily. Clarity and focus can bring out the interesting textures and details in a dish, –such as teacakes dusted with powdered sugar or fried tofu with a crackling crust.
Here’s what photographers need to do before clicking the best pictures:
1. Try different lenses - Each type of a lens has its own unique quality. Macro lenses have higher magnification ratio when compared to standard lenses and can easily capture close-up shots. On the other hand, probe lenses like the Laowa 24mm f/14 2x macro probe have a skinny barrel capable of capturing angles that are otherwise impossible. They can pass through small openings such as a donut.
2. Play with light filters and modifiers - Any source of light can be softened by adding layers of diffusion between the source and the set. Experts use diffusions like LEE Filters’ Opal frost, but a bedsheet can work just as well. Nets and flags can be used as light modifiers to remove light and feathers at certain places.
3. Learn to focus stack - When a computer is used to combine multiple images with different areas in focus, it results in a composite shot with enhanced detail. This is called focus stacking and is a useful tool in macro food photography.
4. Use a colour checker - The colour checker helps in ensuring colour accuracy during the editing process. It is important that the colours make the food look appetising. The colour checker looks like an eye shadow palette with little squares of colours, each with precisely calibrated, measurable value.
5. Monitor the images - Immediately after clicking the pictures, plug in your camera to the computer or the television screen to spot any issues. This way, you can correct or reshoot in time. Software options such as Adobe Lightroom and Capture One support major camera brands and also help transfer the data/images to the computer system directly, without the need of import.
6. Choose the right aperture - The aperture functions by controlling the amount of light that reaches the sensor, by opening and closing the aperture ring of your camera lens.
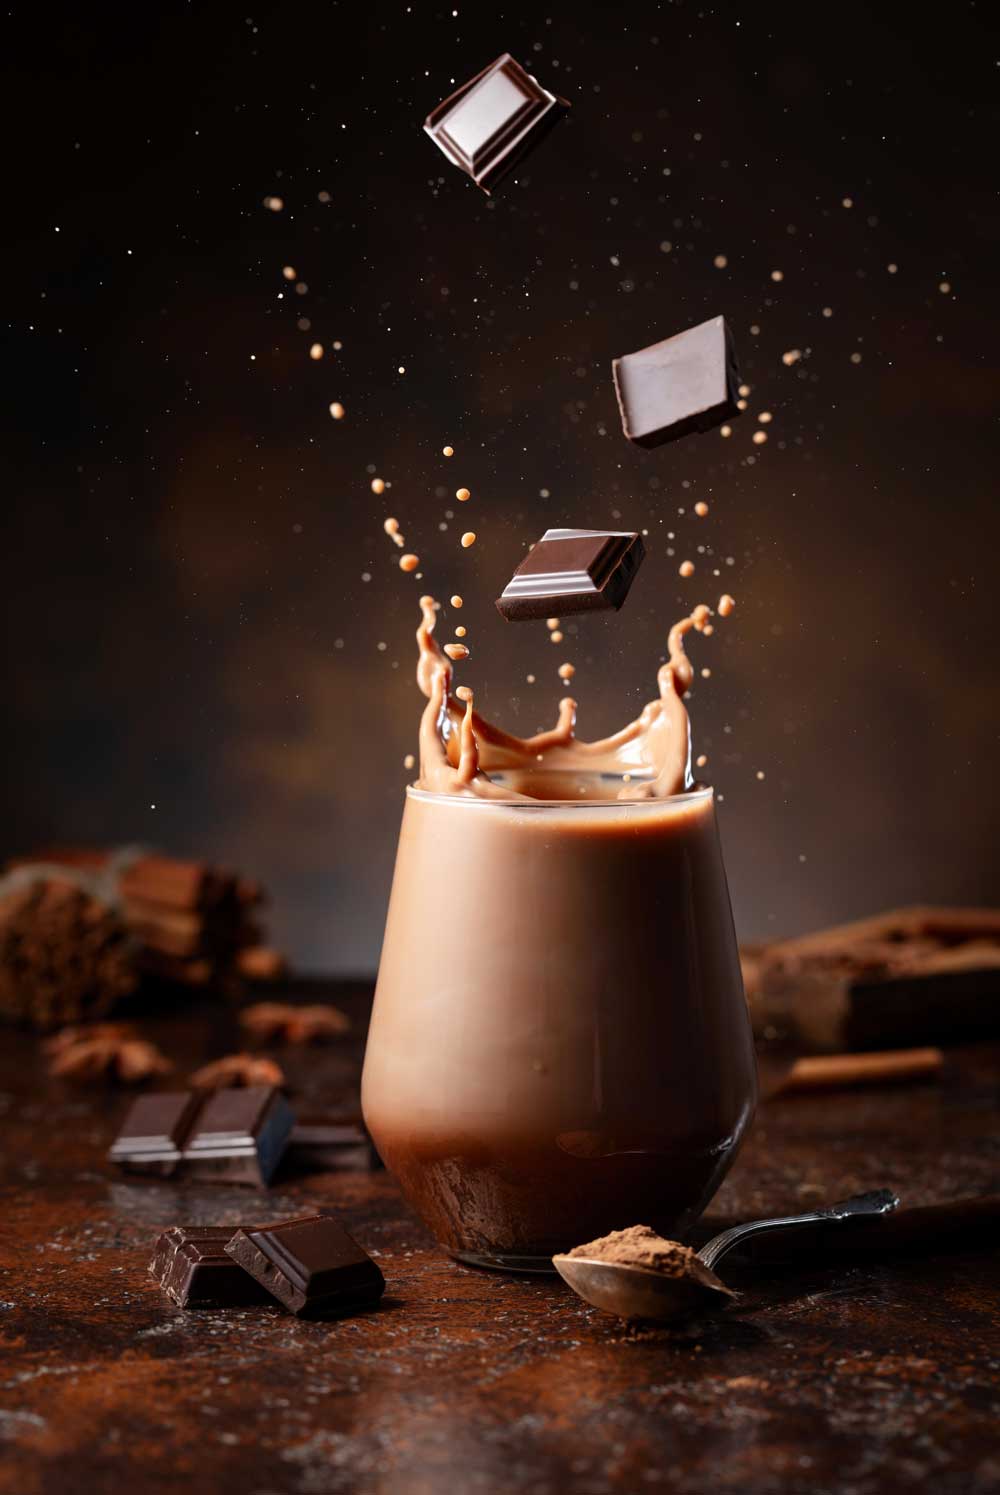
7. Opt for an ideal shutter speed - The amount of time that your camera’s sensor is exposed to light is called the shutter speed. It is mostly used in action shots such as pouring a beverage from a glass, or highlighting the bubbles formed in a carbonated drink.
8. Pick the apt ISO - The sensitivity of your camera’s sensor to light is adjusted by ISO. For food photography, it’s best to use the lowest value possible for the amount of light required.
9. Find your white balance - In simple words, white balance is a camera setting that adjusts all the colours in the photo by making white look absolutely white, while other colours appear more natural and realistic.